Thursday, March 1, 2012

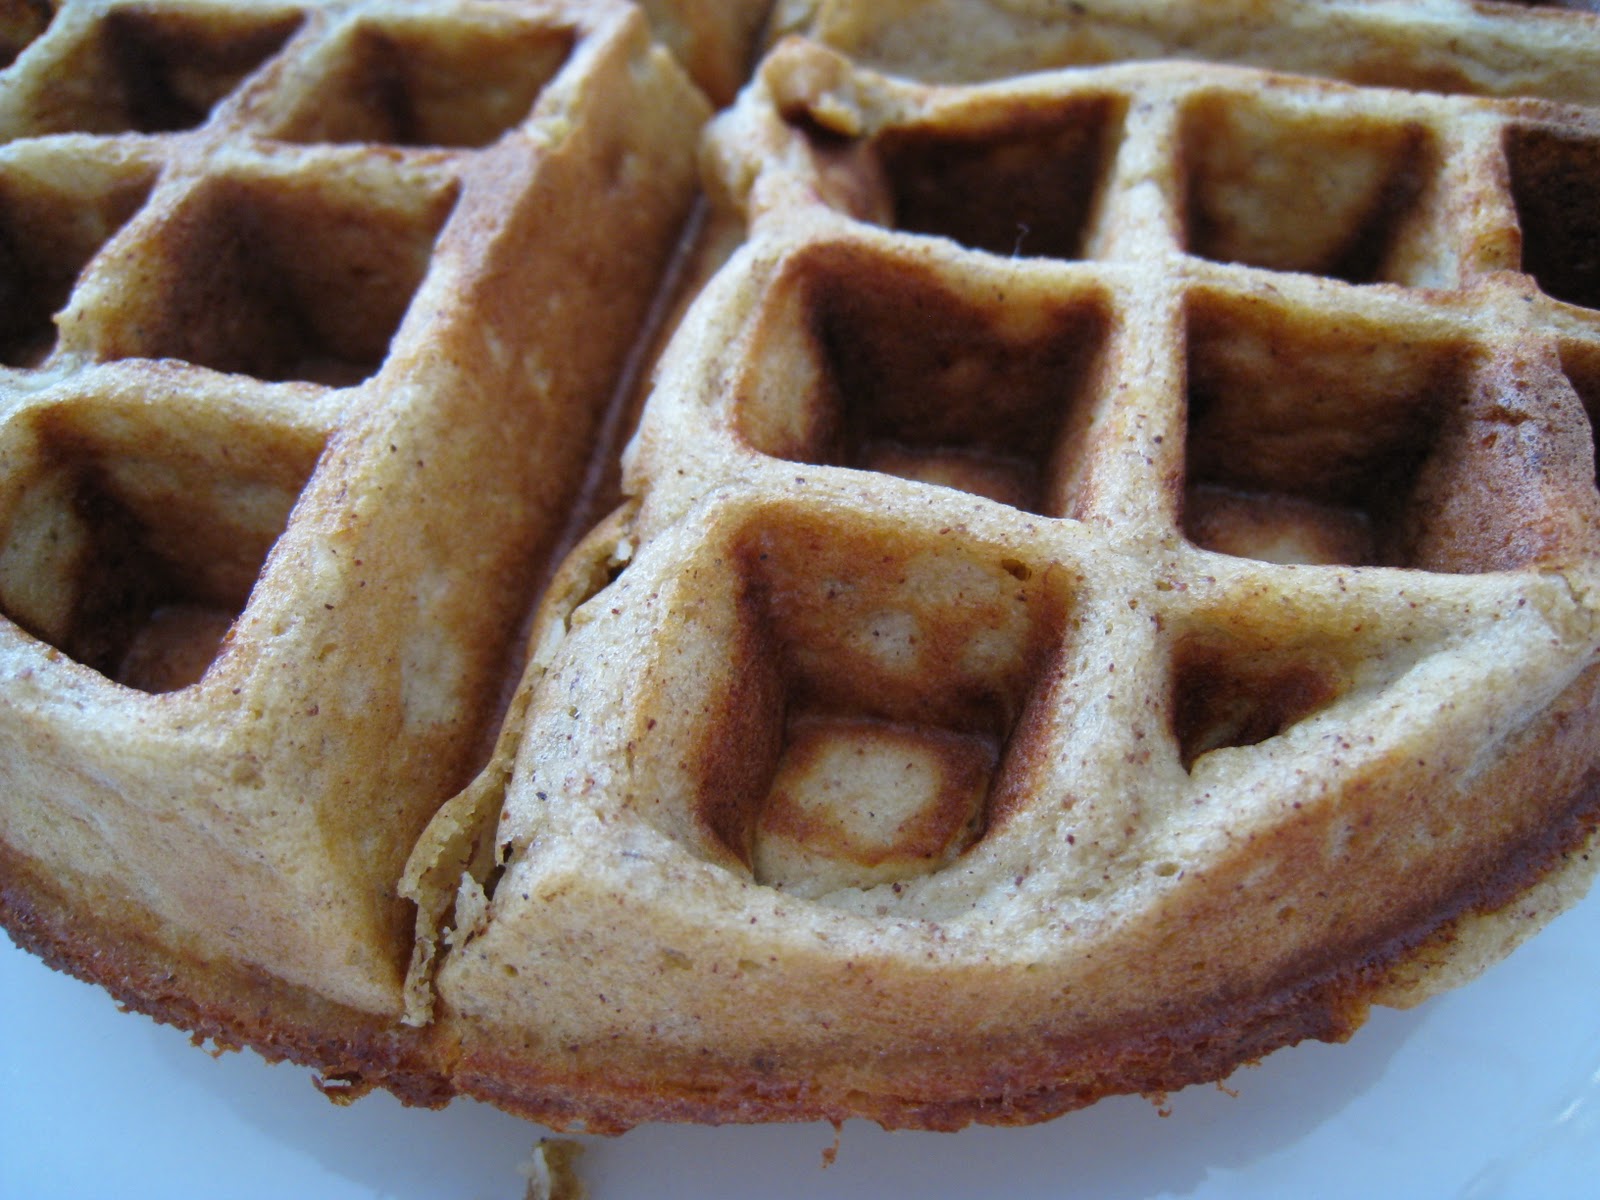
Grain-free Almond Banana Waffles.


I have a new version of grain-free waffles to share!!  Those of you who have read my site for a while will remember my first grain-free waffles.  They taste really great, but these new waffles taste even better in my opinion.  (How is that possible?!)  One of the reasons I like this recipe so much is because they taste great plain, which is atypical of many grain-free versions!!  I also like how this grain-free waffle does not rely on coconut flour or eggs.  I love my other grain-free waffles, but they more dense compared to regular waffles and coconut flour is very filling.  They are, however, GAPS friendly.  Overall, this recipe has a bit more natural sweetness (from the banana) and isn't so dense.  The texture is FAB!  This recipe is also good for those who either don't care for coconut flour or just want a real food waffle recipe that doesn't use so many eggs!

I created this recipe on a whim one morning as I was whipping up some of my original grain-free waffles.  I wanted a recipe that did not use coconut flour.  And I wanted it to be easy!  So these waffles were born :) And I can tell you that they're here to stay

Grain-free Almond Banana Waffles.
    makes about 2 large Belgian waffles

    3 real eggs
    1 cup  blanched almond flour - source
    1/2 cup  organic shredded coconut - source
    2 Tbsp  almond butter - source
    4 Tbsp  butter, softened or melted - source
    1 ripe banana, mashed
    1 tsp  cinnamon - source
    1 tsp  vanilla - source

To make your waffles:
  1.  Turn on your waffle maker to medium heat. Spray it with olive oil - you don't want it to stick!
  2.  In a small bowl, crack eggs and beat with a whisk by hand until glossy yellow.
  3.  In a medium bowl, mix dry ingredients together. Make sure your coconut is finely shredded, and not in the form of flakes or chips.
  4.  Mix eggs and melted butter (but make sure butter is not boiling hot!) together, and whisk this into the bowl with the dry mixture.  **Add water to thin to right consistency, not too runny and not too thick (this step is optional, do if needed).
  4.  Pour batter into your waffle maker. Mine took over a whole cup of batter to fill and make one waffle. Depending on your waffle maker, your waffle yeild may vary, requiring less or more batter, or requiring more or less heat.
  5.  When done (mine beeps!), gently remove to a hot sheet pan in a 200 degree oven to keep warm as the other waffles are made.  Try using two forks or a fork and spatula for this step!
  6.  Enjoy your waffles!  Top them with BUTTER, yogurt, real maple syrup, peanut butter or fresh fruit.  And they're so good you can even eat them plain!!


I must admit, one of the best parts about these waffles is how great they are later, whether they're cold and left out for a few hours after making, or after they are frozen (for weeks) and then are thawed out.  And PS, they make great waffle sandwiches.  More on that in the next post!!

Happy waffling ;)
And Happy March!

Tuesday, February 14, 2012

Thea's Spiced Nuts


Don't these nuts look good?  I am addicted to them.  My sister-in-law, Thea, brought these to our Christmas celebration.  They were so good I think the five of us ate the whole container in about half-a-day.  Well, almost.  When nuts were about 90% gone and I realized that I had to hide them in order for us to stop!  Where is a good place to hide delicious-tasty-spicy-sugary-crunchy nuts?  The freezer!!  I stuck them in there to stop our munching and then I found them there the next morning, still safe and sound.  But before I knew it they were out on the table for breakfast and my older brother had already finished them off!!


These nuts are that good!  They are very easy to make, too.  Luckily my sister-in-law had given my Dad his own separate container of nuts for Christmas, so I was able to get pictures!  Thea explained the recipe to me and it really was quite easy so I decided to make a big batch and hand them out for my family's Christmas goodie bags we give out each year.  The Christmas mix this year included these spiced nuts, honeyed cashews (recipe to come!), crystallized ginger chunks, white chocolate chips, red and brown MMs, and dried cranberries.

Goodie bags all ready to go!

One Christmas gift I received was David Lebovitz' book The Perfect Scoop, which is the book to get about ice cream making.  I have an ice cream maker and enjoy making my favorite raw milk french vanilla ice cream.  This book was on my Amazon wishlist for a long time!  Thank you dearest brother for the gift!  In the book I discovered that David has a nut recipe exactly like what my sister-in-law had described to me.  So I took his recipe and her advice, multiplied the recipe by four, and went to work.


Because the recipe is in David's ice cream book, I am not going to share it here, it's just not fair.  I highly recommend the book and encourage everyone to go pick it up at their local bookstore, Amazon or download it through Kindle.  The recipe is very basic, and I will only describe the process to you.  It is a fantastic way to use leftover egg whites, which sometimes accumulate fast and I have no idea what to do with.  You can also Google "spiced nuts" or "egg white nuts" and several recipes will pop up.

Thea's Spiced Nuts
    adapted from David Lebovitz

First, choose the kind of nuts you would like to use.
Second, froth some leftover egg whites with a fork.
Third, add your favorite spices and granulated sugar of choice to the egg whites.  Warm spices like cinnamon, nutmeg and ginger will steal the show.
Fourth, toss this all together in a bowl, spread on a parchment lined baking sheet and bake at low temperature for 30 minutes.  No need to stir.  Do not overbake.  Nuts will crisp up a bit once out of the oven.  Let cool before storing in Christmas tins or baggies, or before serving.  Store in an airtight container in cool, dry place.  Refridgeration is not needed.  And they are so good you might want to hide them from other family members.

I did get a picture of my nuts BEFORE they were baked though!

These nuts make the house smell FANTASTIC, so if you need to sell your house or wow some guests, make a batch of these and you'll have a warm house full filled with the sweet aroma of caramelized sugar and roasted cinnamon!

Friday, February 3, 2012

4 Ingredient Almond Bars.


This grain-free nutritious snack is as easy to make as it is to eat!  Four easy ingredients that everyone typically has on hand, and four easy steps to make!  It's a great option for crumbling over yogurt in the morning for breakfast, or taking to-go as a snack on the run.  Protein from the almonds and fat from the butter will help keep you satisfied and fueled for a long time.  The short ingredient list makes these bars super easy to whip up as well, which saves a lot of time when you need some nutritious snack options but don't have time to make nourishing protein bars or grain-free zucchini bread.  Best of all, they do not require any special equipment, like a high powered blender or food processor.


4 Ingredient Almond Bars
    makes one 9x13 pan

    16  oz salted grass-fed butter*
    4  cups sliced almonds, crushed
    1/2  cup organic raisins
    1/2  cup honey, raw or runny

To make your almond bars:
  1.  In a large bowl, combine almonds, raisins, and honey.  Add butter and combine into nuts using your hands.
  2.  Pour mixture into any 9x13 pan and press down hard.  I used wax paper and my hands for this step.  Beat with a mallet to get it really compacted.
  3.  Bake in a 375 degree for about 13-15 minutes or until golden brown.  Watch it carefully to make sure the edges don't burn.
  4.  Let harden in the refrigerator.  Slice into squares and enjoy!  Store in the refridgerator.  These bars can also be frozen for the long-term.

Looking for more snack options? Check out these easy-to-make recipes:

Chocolate Chunk Bark
Green Fig Bars
Nourishing Protein Bars 1.0
Nourishing Protein Bars 2.0
Sunbutter Chocolate Raisin Bars
Grain-free Basil Crackers
Chocolate Peanut Butter "No Bake" Bars


These photos were taken on my iPhone, not too bad!

*Hello everyone who commented below about the amount butter used. It's not a typo, but since several people are having issues with the recipe, it is making me think I wrote down the wrong amount originally. Also, the butter is not melted, but cut into the almonds with your hands. This might make a difference. I'd suggest cutting the butter in half or in 2/3rds. Sorry for the issues! When I have time In the summer, will retest the recipe myself.