Showing posts with label agave. Show all posts

Wednesday, June 1, 2011

Agave Science and Recommended Sweeteners

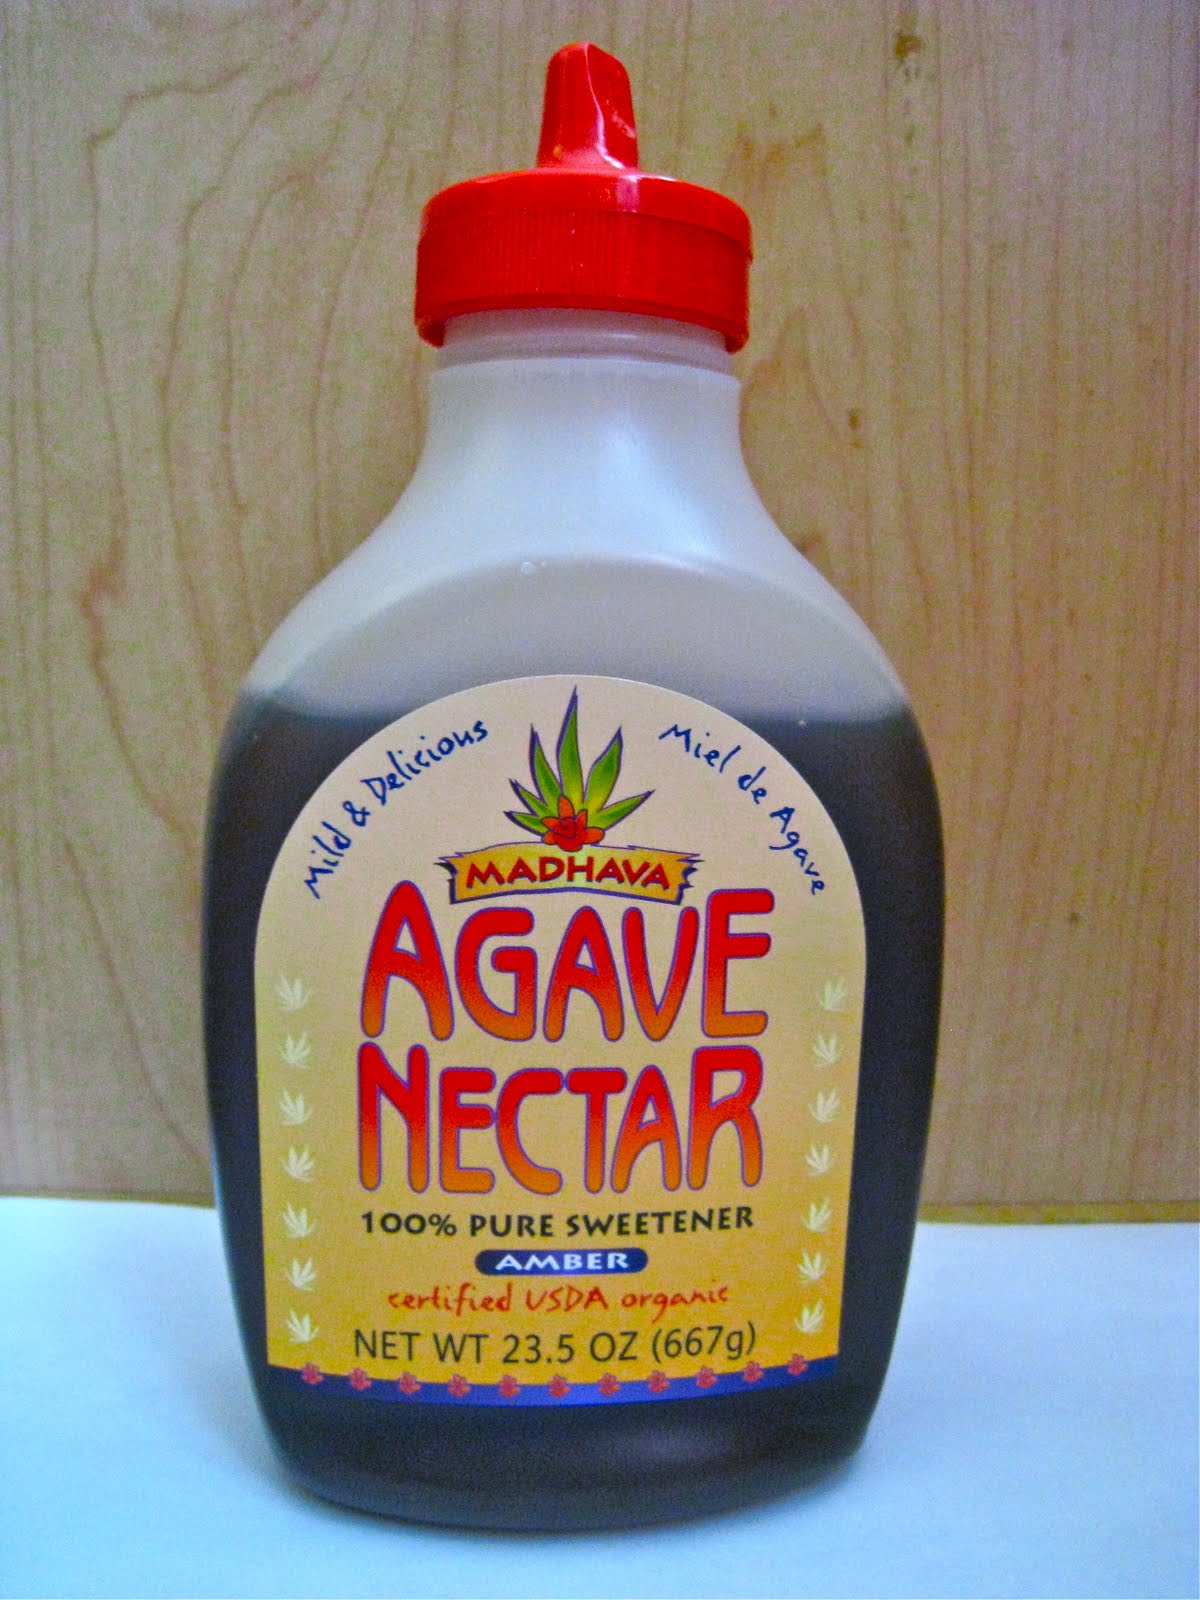
Photo credit- Sheknows.com
The debate between agave and it's benefits and safety as a sweetener is a subject which has been hotly debated. (Are you sick of it by now?) Unfortunately, before learning about the truth about agave I was an agave-holic too. Some of you reading this have probably already made your own conclusions about the issue, but for those of you who are new or late about hearing about "the great agave debate," I just wanted to share what I have learned, from both a personal and a scientific perspective.

At the beginning of my health and later blogging journey, I learned about agave online, probably from another food blogger who was into it. After picking some up from the store, I started implementing it in all my recipes, thinking that this mild-tasting, low-glycemic, raw, no-cane sugar sweetener, would be the perfect sugar alternative. Safe for diabetics? Sounds good to me, I have always been sensitive to sugar and it's affects on me. Slowly but surely I gradually started to buy more and more, putting agave in recipes and adding it to my tea, buying coconut milk ice creams sweetened with agave and loving "raw" agave desserts.


When the word came out that agave is not as great as it is cracked up to be, I was saddened. I should no longer eat the coconut ice cream I grew to love, and no longer drizzle the delicious honey-agave mixture over my crumbly cornbread. But when I read the science, I knew. You can't argue with science.

After doing some research, I went throughout the kitchen and threw out my bottles of agave, dug through my freezer and threw away the baked goods I had made with agave syrup, stopped putting it into my morning smoothies and sadly threw away my coconut milk ice creams (after a bite of good bye ;) ). From where I am now, I don't look back. I know my decision is the best for my body... and here are a couple reasons why I don't support agave syrup.

1) The food industry has propelled it from two or three bottles on some small health food market shelves, to an agave section bigger than honey in large grocery stores like Whole Foods Market, Walmart, your local grocery (Albertson's, Hannafords, Shaw's, Stater's, Publix). The food industry is not as trustworthy as we consumers are led to believe. Just as the soy and low-fat agenda is being pushed upon us, so is agave. When something goes mainstream, I take notice. If it sounds too good to be true, it is.

2) Agave syrup is a relatively new product. Since learning from the Weston A. Price foundation about real food and traditional diets, I have learned that new foods are not necessarily good foods. Food should be unprocessed, and close to it's most original source and form as possible. Agave nectar is very far from meeting this criteria. See my next couple points to discover why. With "new foods" we don't know their affects on the human body long term. It's better to stick with traditional foods that our parents and grandparents and generations before them have been eating. Fresh milk, happy eggs, real meats, poultry, nourishing fats, fresh vegetables, fruits, nuts and seeds.

3) Agave syrup is very high in fructose. We need to be mindful about the amount of fructose we are consuming, since our body is not adequately prepared to handle large doses of fructose in a single time. Products containing agave and HFCS overload the abilities of our body to deal with the excess amounts of fructose. Fructose is dealt with specifically by our liver. And unlike glucose, fructose does not activate the hormonal pathways (gherlin) in our body which cause us to feel satiated. A person will eat more of a product with fructose in it, than something with glucose, since glucose stimulates those pathways and causes you to realize that you've had enough. Small amounts of fructose is ok, it occurs naturally in fruits. Large amounts of fructose in any form, be it agave, HFCS, or fruits, is not recommended. And perhaps the most shocking thing is... that agave syrup is actually higher in fructose than high-fructose corn syrup!!

4) Just because it's "natural" and in the health food store or carried by Whole Foods, does NOT mean that it is good for you. Jenny over at Nourished Kitchen highlighted this issue in popular blog post you can read here.

5) Agave syrup is extremely processed. It is not "natural." Like how industrial oils are processed, agave syrup is extracted and heated and poked and prodded to become the syrup we see on the shelves.

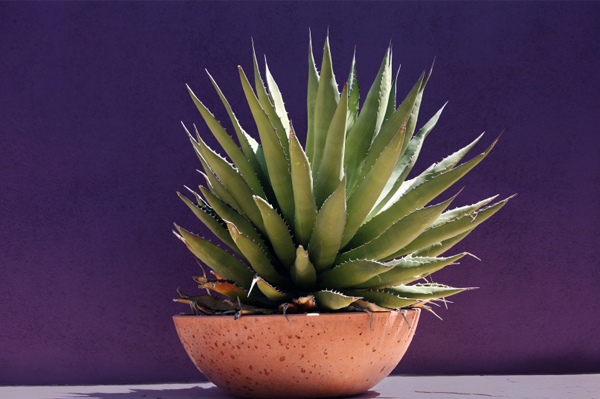
Photo credit - www.bengreenfieldfitness.com

As if all the evidence was not enough, for me and my decision, it comes down to this: I eat real food. Agave is not a real food since it is extremely processed. Therefore I do not eat agave.

Sweeteners the WAPF would recommend, and I would too are stevia, raw honey, maple syrup and coconut sugar.

     I used to buy my raw honey online here, but most recently I tried some local honey which I purchased from my favorite grocery store. The honey was made in Maine, and was fantastic! It is more expensive for a smaller jar, but you can actually use less since it is about 40% more sweet and more flavorful.

Photo credit - www.roosterbrother.com

    For maple syrup, I buy organic at the grocery store. Last summer, however, my mom and I were antiquing in Queechee, VT and we bought a GALLON of organic maple syrup from a lovely family at the farmers market there. Grade B maple syrup has more vitamins and minerals and tastes the best, with a richer, darker, bolder flavor. Grade A is thinner and less rich, and is the type most people pour on their pancakes.

Photo credit- Vitacost.com
    Stevia is great! There are many different brands out there, and each one has different ingredients and strengths. My most favorite is Sweetleaf vanilla creme stevia, which blogger friend Kelly turned me on to. My Naturopath actually spoke to the company and Sweetleaf is the only stevia that is not watered down or full of fillers.

Photo credit - Zebra Organics
    Coconut sugar has the greatest flavor. I think of it as a sugar that tastes like evaporated cane juice mixed with maple syrup but has the texture of Sucanat. It's perfect for making your own homemade hot cocoa mixture, or for browning tops of gluten free muffins.


Based on all the evidence here, I would go so far as to recommend pure cane sugar over any other sort of "fake sweetener" whether it is agave, xylitol, erithrytol, Splenda, NutraSweet, Equal, etc. Your body knows what to do with glucose, but it cannot handle these different substances. Glucose is real, these other sweeteners are NOT!

I hope that this was helpful for some of you. Many of my friends have been confused and wondering why agave really isn't good for you! It's easy to be deceived into thinking something is true since we often times do not get the facts right or do the research ourselves first. What decision have you made about agave?

I'd love to hear your thoughts,

Check out these other articles for some more information:


Friday, January 29, 2010

Homemade Almond Joy Ice Cream


This recipe.

Heaven.

Unfortunately you will only get tempted by the picture, because if I gave the recipe away then I would have two boys in the house who would be very upset if they learned I have shared the recipe for our special Almond Joy ice cream. I wouldn't want to upset them, would I?

Imagine the best ice cream you've ever eaten... multiply times 10 or 100, and you've got it.

Ice cream has always been a favorite in our house, and now I feel better because when I make it I know how nourishing it is! It's so much better than store bought. I make the ice cream using ingredients like raw cream and organic coconut milk. Each scoop is full of nourishing and essential saturated fats!

Sorry about picture quality - it was at night so of course that means no natural lighting to take a photo! The ice cream on the bottom is my homemade chocolate peanut butter cup ice cream, which I will be sharing within the coming weeks!

Saturday, December 19, 2009

Gluten-free Whole-Grain Banana Bread.

 
Update - 12/21/2009
This bread IS so moist!  We just finished off the first loaf this morning and are into the second one. The one great thing about this bread is that even after sitting outside of the fridge for a couple of days it has not even slightly dried out!

It was my first full day home yesterday and I definitely took advantage of all the rest.  Being the foodie that I am, I later found myself running to the grocery store with my Mom to get some chocolate chips for making fresh from scratch almond joy ice cream.  I also made homemade pizza and banana bread (there was conveniently very overripe bananas waiting for me when I arrived home from the airport).  I might have waited a few days on the banana bread, but I ended up adding 4 full eggs into my beginning ice cream mixture, instead of just egg yolks, and so I had to use the "oops" for something.


I have been very unhappy with all the gluten free banana bread recipes that I have tried.  They are either too dry, too grainy, have too little banana content, or just taste blah and are nothing like the banana bread that I remember.  In the past, I've tried making over my mother's traditional recipe, as well as other gluten free versions online.  While some were tolerable, they weren't great.  Banana bread is easily one one my favorite quick breads, and I really want to find a good gluten free version, one that I can serve to others and be proud of.  This time I finally might be on to something!  This bread passed the "wheat-eater" test with flying colors, my brother G really liked it!  My family and I almost ate the whole half loaf for breakfast!


The bread did really well except for the fact that it is a little moist on the bottom.  This can be alleviated by probably just changing the amount of liquid and also adding bit more baking soda.  I will probably do a combination of both and next time I make another batch of this yummy bread I will update the recipe here.


Gluten-free Whole-Grain Banana Bread.
    yields two loaves

    1 1/2 cup  sorghum flour
    1 cup  unblanched almond flour
    1/2 cup  teff flour
    1/2 cup + 2 T  arrowroot starch
    1/2 cup  tapioca flour
    1/2 tsp unrefined sea salt
    1 1/2 tsp  baking soda
    2 tsp  cinnamon
    2 dashes  nutmeg
    1/2 tsp  xantham gum
    1 cup  organic full-fat coconut milk
    1/4 cup  honey
    3/4 cup  organic maple syrup
    6 drops  clear stevia
    4 cups  mashed bananas
    4  REAL grassfed eggs

To make your banana bread:
  1.  In a large bowl, whisk together: flour, baking soda, salt and spices.
  2.  In separate smaller bowl, add bananas and mash.
  3.  In third small bowl, add eggs, maple syrup, agave and stevia.
  4.  Combine liquid ingredients and slowly add to the dry ingredients, folding together with a spatula.
  5.  Lightly MISTO spray two loaf pans, and divide batter evenly between them.
  6.  Place into a preheated 350 degree oven, and bake for about an hour or until the bread begins to brown, pulls apart from the sides and a stick inserted through the middle comes out clean.
  7.  Let cool in the pans on top of a wire rack. Then gently go around the edges with a dull knife and shake the bread out. Place them on wire racks to fully cool before eating or giving away or freezing.

This bread was so moist and delicious.  I hope you enjoy this banana bread with your family.  The bananas and sweet maple syrup make it especially scrumptious.  If you are averse to the taste of coconut, do not worry, the taste does not shine through in this bread.  The maple syrup taste is not assertive either.  It has just the right amount of sweetness.  Next time I make this bread, I might actually add more cinnamon!

For those of you that are wondering what banana bread recipe I used before I was gluten-free, click here.   I still use this recipe occasionally when I cook for others who do not have any special dietary needs.

Sunday, May 24, 2009

Carrot Cake Bread


Leaving school was hard, but it also gave me an excuse to bake this bread! I had to use up some of the ingredients that I couldn't leave behind. That, and with some assistance from the cafe (thank you Bon Appetit), this bread was born!

Better yet, several of my friends were able to try it. I didn't tell them the bread was gluten free, yet they knew I could eat it, and THEY LOVED IT. Rave reviews all around. It made me so happy!

The thing I love about this recipe is that it is so easy, yet a little complex and most important, HEALTHY. I have always found that to be one thing carrot cake recipes lack. They seem to always be soaked in oil and drowning in sugar, which is not the case here.

Also, this recipe uses coconut flour, a great naturally gluten free flour that is extremely low carb, packed with protein and fiber and supplies you with some of your daily intake of healthy fats. Its a win-win situation! Because of all the fiberous ingredients in this bread however, go slow. Don't eat half the loaf just because it's that good ;) - we've all done it. The fiber will fill up your stomach and in 20 minutes you will wonder how such an innocent piece of bread could make you feel so uncomfortable. Fiber is good for you, but don't over eat or you will be overly full.

Healthy Carrot Cake Bread

1/2 cup coconut flour
1/2 cup ground flaxseed meal - mine was normal brown, not golden
1/4 cup yellow cornmeal
1/2 cup oat bran
2 T teff grain - not teff flour
2 T quinoa - the white variety, but you could use red and it would look and taste fine
4 eggs
1/2 cup coconut oil - melted
1/3 cup amber agave
1 tsp salt
2 tsp cinnamon
2 tsp stevia
1/2 cup medium shred unsweetened coconut
1 1/2 T vanilla extract
1 cup organic raisins
1/4 cup walnuts - mine were whole, but you can grind them, I enjoyed having chunks for a change
2 1/2 cups grated carrots
2 cups mashed bananas - this was about 6 medium sized bananas, NOTE: my bananas were ripe for eating, but not ripe ripe BROWN ripe
2 tsp baking soda
1 heaping tsp baking powder
roasted organic sunflowers seeds for the top - I used raw, but I actually like toasted better

To make the carrot cake bread:
This recipe is really easy. In two separate bowls mix the wet ingredients and the dry ingredients. Mix together, then fold in the chunkier ingredients like raisins, carrots and walnuts. Sprinkle sunflower seeds on top, and push into the dough slightly with your fingers. Bake at 350 degrees for about 45 minutes to an hour. On my recipe sheet I actually never wrote down how long it took?! Just watch it and then you will know when it is done.

This recipe makes enough for two small loafs in normal sized loaf pans, enough for several mini loaf pans, or like I did, enough for a medium sized loaf pan and a normal sized loaf pan. I don't know the measurements of all those pans, but I am sure you can tell what I mean :)

It also has enough protein (along with fiber) to keep you full and satisfied with only one slice!

Don't be afraid to have this for breakfast, lunch, snacks and picnics and parties on the lawn! I really loved this bread with fruit juice-sweetened raspberry jam from Sorrel Ridge.

Enjoy, enjoy!

Sunday, March 29, 2009

Corn Pancake, Egg-Fried Quinoa


I shouldn't really be blogging, but I can not stand the fact that I would have only one post in a month. Pitiful. So here I am, and it's gonna be short.

Yesterday for breakfast I had a thought, I need a pair for my yogurt. There's no more granola... Time to experiment. I could make a skillet cornbread type pancake, and crumble it on top? Perfect.

So I started thinking and soon a recipe was born, and 30 minutes later, it was carried out. The results were not perfect, but it was good for the first try. The only reason why I say it's not perfect is because the outside edges burnt. The pan was too hot, I learned later (I even melted my spatula, oh well, it was only a 99c cheapo), and I realized that the pan was way to hot for the wet-factor of the pancake and the density-viscosity factor. I should have realized that and I did think about it before I poured the batter.. but I thought, who cares if I burn it a little. Char is yummy! Especially when that char involves some yellow cornmeal, or cornmeal of any variety!

I also realized later that the burnt layer on both sides peeled away to reveal a lovely fluffy texture inside (as you can see from the photo). Ooh, so good! I could even expand it and make a cornbread! The amount is perfect for one person for breakfast, so plan accordingly for more people.


Cornmeal Pancake

1/4 cup Arrowhead Mills Organic Yellow Cornmeal
2 T Bob's Red Mill Coconut flour, packed
2 T Bob's Red Mill Organic oat bran
~1 T amber agave
1/2 tsp stevia
1/3 cup soured raw milk
1 amazing egg (free-range, veg-feed, organic)
1 tsp coconut oil
1/4 tsp baking soda
1/4 tsp baking powder

To make the pancake:
It was easy: mix the dry, mix the wet, mix the both together and crack the egg in and mix in with a whisk. Wahla! The batter will be thick and sticky but easily stirred around with a spatula. Heat a skillet on low-medium heat (or medium-high heat if you want the peel away yummy char factor), pour the batter on top and smooth. Cook until the edges start to come together and there are some bubbles. Work your spatula CAREFULLY under the edge and work around the pancake, then flip it carefully to the next side. Cook until its done, which will be a shorter time than the first side. This recipe fits perfectly in an 8 inch skillet - that really helped the shape of the pancake. Enjoy!

I cut mine in half and crumbled half on top of my yogurt, and ate the other half on a plate with a fork like a pancake :) Drizzle with agave, and top with some raw nuts and you have a lovely and nutritious breakfast. It almost looks like an omelet! My nuts were organic RAW walnuts and organic RAW valencia peanuts. Look at the color of the untouched photograph!


I love quinoa. It's better for you than rice, pure protein and super easy to make - and fast, which is equally as important as all those other things! I got the idea of doing an egg-fried quinoa because I had some celery that needed to be used and a small green pepper (thank you cafeteria). This recipe is so simple and so good for you. I thoroughly enjoyed it :) It reminded me of all the chinese food I miss so much. (Whoever opens an allergen free chinese place might just become the next Bill Gates).


Egg-Fried Quinoa

For the quinoa:
1/4 cup uncooked quinoa
1 cup water
1/2 tsp sea salt

1 small green bell pepper - finely diced
6 6-inch celery stalks, cut down the middle and finely diced
1 T olive oil
1/2 tsp sea salt
1 egg
spices to taste, I used:
garlic
kelp granules
black pepper
salt
cayenne

To make your quinoa:
1. In your 8-inch skillet, cook the pepper and celery until crispy and cooked through and a little blackened (the oil will disappear). When they are done, turn the heat down (so you don't kill the egg).
2. In a sauce-pot, bring the quinoa to a boil and simmer until ready. How fast your quinoa cooks (and tastes) depends on if you rinsed it first and what brand you bought.
3. When the quinoa and stir-fry is done, add the quinoa to the pepper/celery skillet and cook for about 3 minutes. Then stir the quinoa mixture into half of the pan, and in the other half add the egg. Cook the egg and scramble into the quinoa/peppers/celery.
4. Transfer this to a separate bowl and add spices and little bit more olive oil. Toss. Put it on a plate and EAT! I had mine with a sweet potato, which I loove.

That was long a long post. I just can't do short posts! I am going home for Spring Break soon, and I can't wait. Easter recipes will definitely appear so stay tuned!

Sunday, March 15, 2009

Coconut Bread, Apple Crisp, and Kiwis


Oh goodness, it's been so long! I have really busy... really busy. This past month (has it really been that long?) has been filled with tests and studying. Next month will be no different, and the next.. until May that is. I have been cooking, just not posting. Now it seems like I have so much to post, but whenever I go to sit and write, nothing comes up. Call it writer's block, call it whatever you like.

It isn't that simple. See, I've been working on this recipe in my head. It's similar to a brownie, but with no chocolate involved. Tomatoes instead. What? You ask. You will just have to wait and see. Problem is, I had this idea- it came to me in class one morning (I seem to get inspiration at completely random times). I've written it down, and gone over it and over it. I haven't made it yet. This is probably because I was waiting for ingredients, which were coming in the mail via Vitacost.com (which I love) and then it was just finding time. Hopefully I will find that time tomorrow night. But actually, tomorrow morning I will set foot in a Whole Foods market. I am shocked, but elated and filled with anticipation. I miss good food stores. Frankly, I have a love affair with Whole Foods... just don't tell anyone, ok? And perhaps best of all? It's right on the water. Pacific Ocean, here I come!


One thing that is a success, however, is this bread. I've wanted to make this coconut bread for a LONG time now, and have never ever gotten around to it, until now.

The problem with most gluten free bread recipes is that they are so complex. Well, maybe not complex in procedure, but certainly complex in ingredients. Some recipes I've found contain at least 20 ingredients, if not more! As a college student, I just can't have all those ingredients waiting for my beck and call. It has to be simple, the few the ingredients the better. That's how it is with this bread.

If you Google "coconut egg bread" or just "coconut bread" you will undoubtedly find this recipe. It's pretty common and I believe it comes from Bruce Fife's book, Cooking With Coconut Flour. I do not own this book, but my mom actually has his Coconut Oil Miracle book, which was very good. It has a few recipes in it which I am going to try someday, but just haven't gotten to it yet (am I alway saying that?)

Anyways, the bread does not rise too much, and it is very dense, like pound cake. It tastes like an eggy coconuty pound cake with a hint of sweet and its full of moisture. I was a little over anxious to get it out of the pan, tried too hard when it wasn't fully cooled, and so the top half of the bread came off one half of the loaf! Ooops. I won't do that again. So I have resorted to eating it with a fork. Slicing will have to happen on the next batch (I will definitely be making this again).

On the next go I might try adding some flax, some whole grain teff, and MORE baking powder. I don't want to go over board on the leavening agents though because I don't want the bread to fall, but I will experiment until it does! 

Coconut Bread

6 eggs (organic, free range, brown AA large)
1/2 cup coconut oil, melted (or you can use butter)
3/4 cup coconut flour (I use Bob's Red Mill)
1 tsp baking powder (I did almost 1.5 tsps and will up it next time)
1/2 tsp sea salt
2 Tbsp agave or honey (I used Madava amber agave)

Mix well so there are no lumps! Sift the coconut flour well. Beat the eggs separately. Combine dry into wet in stages. Or just put all the ingredients in a food processor and whiz to mix. GREASE your loaf pan liberally. Bake at 350 for about 40 minutes. Enjoy!

By the way, the large dent you see in the picture is what I ate of it for dinner. Soo good.


My second picture is apple crisp. HAH. I should call it "college crisp" because it is so easy, and CHEAP to do! Stock up on apples from the cafe and viola! College Crisp! I did not know going into it if this recipe was going to be blog worthy, but I thoroughly enjoyed it, so I might as well pass it on.

College Apple Crisp

6 apples of choice (I used 3 red delicious, 2 granny, and 1 yellow delicious)
amber agave
cinnamon to taste (about 1-1.5 tsp)

topping:

1 handful GF steel-cut oats (probably about a 1/4 cup)
1 tbsp coconut flour
2 tbsp amber agave
1 tbsp coconut oil (not melted)
cinnamon to taste
salt to taste
stevia

Cut apples into half moons like you would to eat them (I left the peels on, you can peel the apples if that is what you prefer). Place them in your glass baking dish. Sprinkle with cinnamon and agave to taste, and toss until the coating is evenly distributed over all the apples. In a separate small bowl, put agave, cinnamon, salt (enhances the sweet), coconut oil and coconut flour. Mix with your fingers, add oats. Mixture should have a fine crumb (like when cutting butter into flour for the bottom of a pie) and no large lumps. Sprinkle stevia evenly on top of apples, and then sprinkle topping over apples. Drizzle one last time with agave syrup.

Bake covered with tin foil at 350 for about 40-50 minutes or until apples are tender. Allow 10 more  minutes with the foil off for the top to brown. Let cool for at least 5 minutes and serve! I ate mine plain and it was fantastic. Coconut/goat milk ice cream would be perfect on top as well. Next time I will use more golden delicious apples. Enjoy!


The kiwi, random, I know. But they were at the grocery store for 2/$1. Not organic, but still. Variety in the diet is good, and kiwis are good for you. I bought some for H because she loves them, and I got some for myself as well. 4 kiwis for $2. Your kidding. 2 for her, 2 for me. Now, I struggled with the way to eat them. I thought of using a spoon, but didn't think it would work. I was wrong. Upon searching the internet I came upon this article: How To Eat A Kiwifruit. It was just what I needed before enjoying my next kiwi. It worked splendidly, and I will never eat a kiwi another way again.


I hope to post that new recipe soon. I am dying to see if it will work as I have imagined it. Stay tuned.


How has your month been?


Tuesday, January 20, 2009

Gluten-free Pumpkin Bread.


I was away at school on Thanksgiving and I didn't get to bake my own gluten free baked goods, like pumpkin bread, stuffing or apple pie. The only baked good I had was a pumpkin bread my Mom sent me. The recipe I chose for her to make was less than stellar (I think I made over a wheat version into a GF version from online) and when I came home I vowed that I would make an amazing gluten free pumpkin bread.

I am blessed because it worked on the first try! I took my mom's REALLY good recipe and went to work. I am pleased with it. The texture is amazing and even my Dad (who is quite the texture Nazi) said so. This bread is not very sweet, so if you like your pumpkin bread very sweet, just add some more sweetner.

Gluten-free Pumpkin Bread.
    adapted from my Mom's recipe

    4 cups  gluten-free flour blend (I used a mixture of brown rice, white rice, arrowroot, potato starch and a little cornstarch)
    1/4 cup  maple syrup
    1/4 cup  runny honey
    4  happy eggs
    2/3 cup  cold water
    3/4 cup  unsweetened organic apple sauce
    1/4 cup  organic coconut oil
    1 - 16 oz  can pumpkin puree
    2 tsp  stevia powder
    2 tsp  xantham gum (acts as a binder)
    2 tsp  baking soda
    1 tsp  each of: baking powder, cinnamon, nutmeg, allspice
    1/2 tsp  cloves

To make your gluten-free pumpkin bread:
  1.  Combine both wet and dry ingredients in separate bowls.
  2.  Incorporate the wet ingredients into the dry. Mix well.
  3.  Pour equally into greased loaf pans. Bake at 350 degrees for 1 hour or until tooth pick comes out clean.

-Update: 1/1/09- This is a dairy free and sugar free pumpkin bread recipe. I am planning on making another version that has REAL butter and sugar sometime this month.

-Update: 5/11/13- See my most recent paleo/primal version here. I also notice that I did not include yeild amount for this recipe. I believe it makes 2 regular sized loafs.