Friday, March 23, 2012

Gluten-free Soaked Baked Oatmeal


This is a departure from my normal grain-free posts, I know.  And that's ok.  Have you ever had baked oatmeal?  I grew up on it as a kid, since they would serve full sheet pans of it at the camp where I grew up living.  We would gobble it up, kids and staff included.  Today is no different (it's still delicious), but I was wanting to make my beloved baked oatmeal healthier.  No refined sugar, no rancid vegetable oil, and grains properly prepared.


I posted the original camp recipe way back one summer when my blog was just beginning.  That recipe is the scaled down version of the full sheet pan camp size.  For some reason, the recipe doesn't quite work, as the liquid pools in the bottom.  I think this is because when you bake with full sheet pans you use "cake guiders" which you place on a sheet pan to give the pan temporary sides.  Excess liquid commonly finds itself seeping out the sides, if what is being baked isn't completely homogenous.  This would happen in the large pans at camp.  When the baked oatmeal would come out from the oven, steaming, golden brown and smelling of cinnamon, between the guiders and the small edges of the sheet pan there would be this wonderful crispy and delicious crunchy cake like stuff that tasted of sweet baked oatmeal and cinnamon.  It tasted even better once the pan cooled and I could snap off a piece.  Crispy baked oatmeal heaven.  But pans that home cooks use do not come in commercial size or use cake gliders, so the recipe had to be edited.


The reason you see a post on this isn't because I made it for myself (although it's so delicious I could find myself doing that minus the fact I typically avoid grains), it's because I wanted an easy recipe that I could whip up and share with others.  These past few weeks have shown me that the majority of people don't plan ahead with their food, so they end up eating whatever is convenient.  (This sounds like a no brainer, but I'm guilty of forgetting how "regular" people eat).  I am hoping to get some good, nourishing food into people by making this more often and bringing it around campus to share with my co-workers, friends and professors. 

I wasn't happy with the idea of adapting the original recipe to a real food, WAPF approved version.  Instead I scoured the internet, consulted my favorite real food bloggers recipes and engaged in some serious recipe reconissance.  This version is heavily adapted from my friend Jami.  I can not thank her enough for helping inspire this recipe!  I am very happy with the end result, though I may tweak it in batches to come, and rest assured I will share those updates with you here.  But for now, here's the best baked oatmeal I've ever made.  And best part is, it's completely gluten-free, soy-free, refined sugar-free, possibly dairy-free, WAPF approved, and completely digestible.

 
Gluten-free Soaked Baked Oatmeal
    makes one 9 x13 pan

    4 cups gluten-free rolled oats - soaked: with 2 Tbsp whey, and covered with water for 8-16 hours or overnight - source
    1/2 cup  organic coconut oil, melted - source
    1/2 cup  coconut sugar - source
    4  eggs
    2 tsp  cinnamon
    2 tsp  baking powder
    2 tsp  vanilla
    1/2 tsp  unrefined sea salt

To make your baked oatmeal:
  1.  The night before you plan to make your baked oatmeal: measure 4 cups oats in a glass bowl, cover with lukewarm water, stir, and add 2 Tbsp of whey or for a dairy-free version use apple cider vinegar. Cover lightly with a dishtowel and let soak on the counter overnight, or for 8-16 hours.
  2.  In the morning, or sometime the next day, strain out the water from your oats using a fine mesh colander. Lightly tap the colander with the side of your hand to shake out any more liquid. Plop strained oats into a large bowl. Add cinnamon, baking powder, vanilla, and sea salt to the oats and fold together with a large spatula.
  3.  In a separate small bowl, whisk eggs by hand until glossy yellow.  Mix sugar with melted coconut oil, and add this slowly to the eggs. Make sure coconut oil is not hot, or the eggs will curdle.
  4.  Add coconut oil and egg mixture to the big bowl with the oats. Fold together to combine.
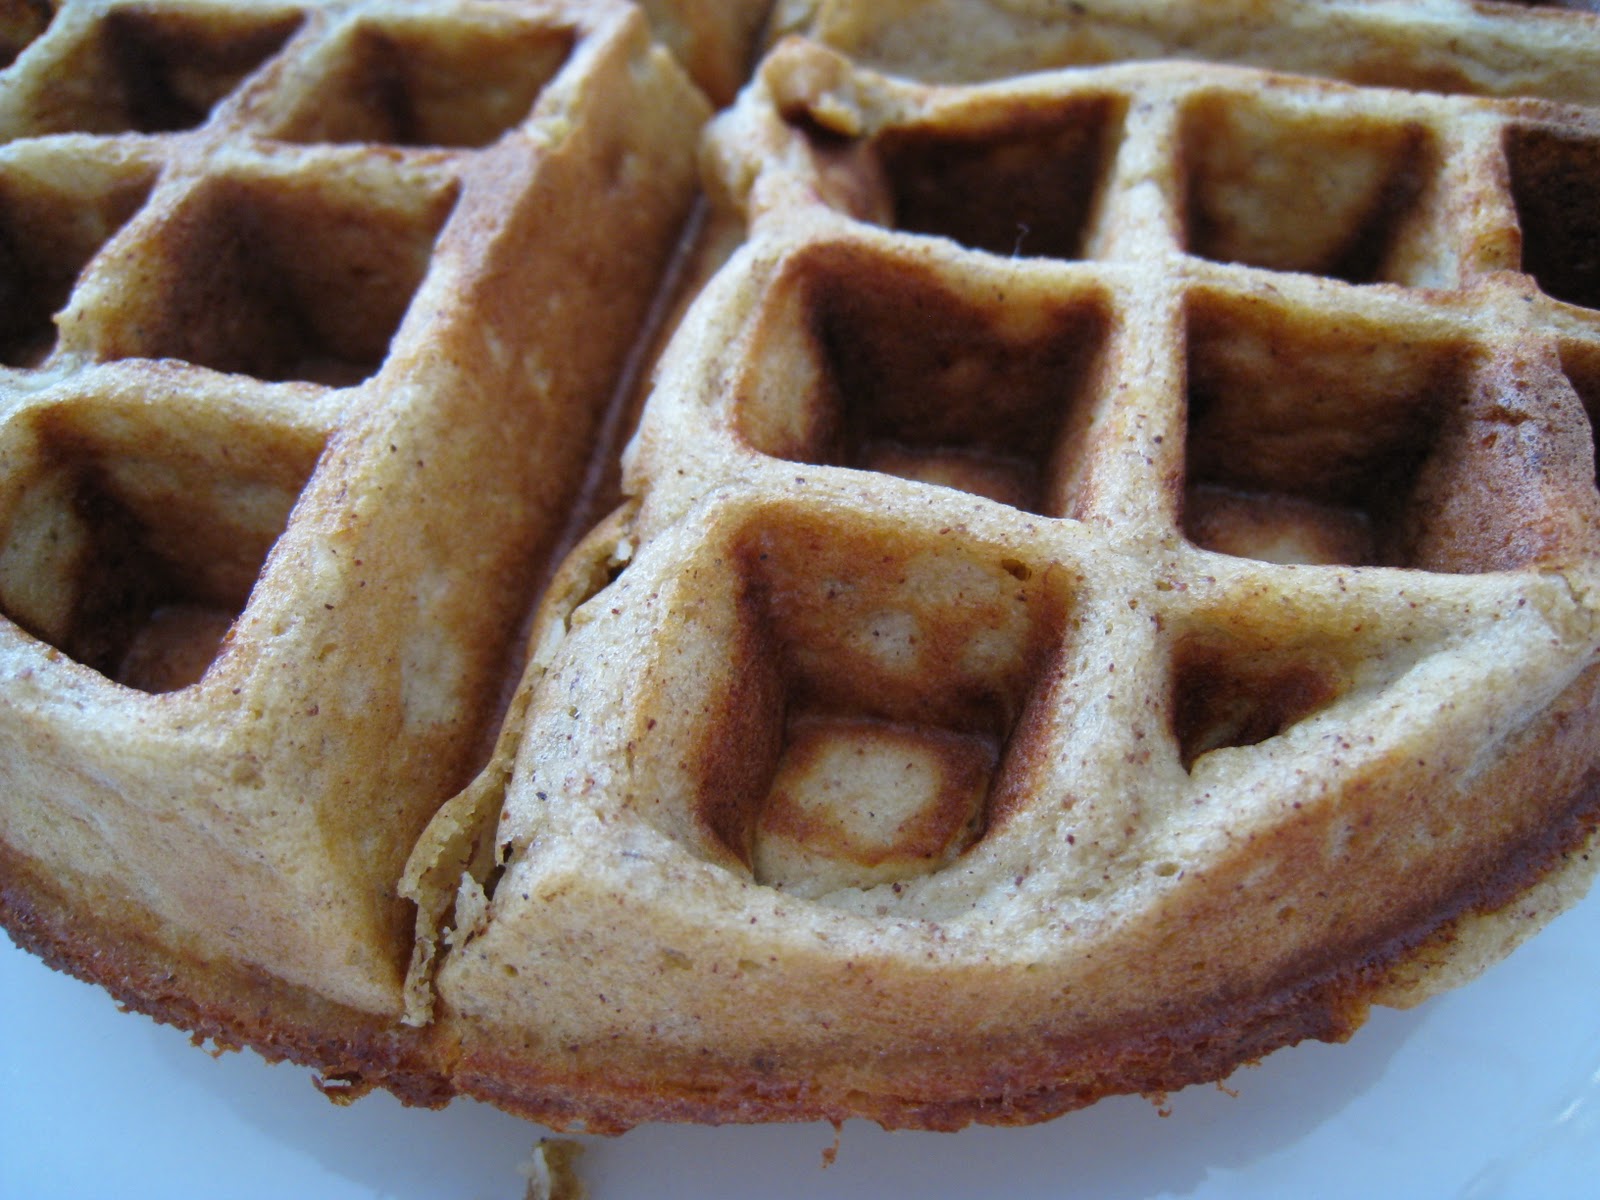
  5.  Lightly grease a 9x13 baking dish with coconut oil or butter. Pour batter into the pan. Bake at 375 (mine is non-convection) for about 25 minutes or until top is set, and sides are just beginning to pull away from the pan and become golden brown.
  6.  Let cool, slice into squares and enjoy :) If needed, this freezes very well too.


When the recipe originally came out, I contemplated baking it longer, using less oil and or using less eggs in subsequent batches.  However, now I am not so sure.  I like it how it is, and it received rave reviews from everyone I shared it with.  Like I mentioned previously, I'll continue to play around with the recipe and share any other edits I find.  If you want the baked oatmeal to taste more on the sweet side, add another 1/4 cup or 1/2 cup sugar.  The current amount of sugar gives it just a bit of sweetness, but some might like more.  I like to keep the sugar content lower, since you can always smear it with some raw honey, or even some peanut butter, or top it with yogurt, maple syrup and berries for breakfast.  Since it's sliced into squares it makes a great portable breakfast and snack option, also.  Baked oatmeal is very versatile.  Feel free to add more spices, dried fruit like raisins or even fresh blueberries to the mix!
 
Happy soaking!

Friday, March 9, 2012

Grain-free Waffle Sandwiches

Turkey bologna, sharp cheddar, green leaf lettuce, mustard and homemade mayo @ mid-munch ;)

Last week I posted about my new favorite grain-free almond banana waffles.  They are really different than my original grain-free waffles, since they are not as dense and taste super great plain.

Sandwich close up

One of my most favorite things to do with leftover waffles is make grain-free waffle sandwiches!  I don't eat any gluten-free bread and so this has been a great option for me when I really want a sandwich, which happens occasionally but not very often.

Top view

The combinations are endless.  My pictures here show organic turkey bologna with real sharp cheddar cheese, dijon mustard, homemade mayo and fresh green lettuce.


Best of all, you can make GAPS safe sandwiches with these waffles!  What a great departure from squash and soups, yes?  To learn more about the GAPS diet and it's healing abilities for myriads of symptoms including poor digestion, click here.  For even more resources, here.

pb + j

Or you can make the classic peanut butter and jelly, or almond butter and jelly!  This picture shows peanut butter and fruit juice sweetened locally made strawberry rhubarb jam.  (Which is a FANTASTIC combo by the way, if you've never tried it :)

No pb + j is complete without a little bit of oozing ;)


Waffles shouldn't be limited to savory sandwiches and can easily be incorporated into a dessert dish for something sweet.  This is a waffle sliced in half topped with organic pink lady apple slices and organic chocolate sauce.  What a treat!


Don't let the pretty pictures fool you, they really are easy to make! 

Grain-free Waffle Sandwiches

    Directions: 
      Simply take a waffle quarter (I have a Belgian waffle iron that creates a round waffle divided into   four pieces), gently cut it in half, and fill with the ingredients of your choosing.  

More ideas:
         Freshly sliced cheeses, meats like bacon, roast beef slices, roasted chicken and turkey, as well as homemade meatballs add protein. 
         Veggies like cucumbers, tomatoes, and lettuce add some filling crunch.  
         Spread the insides with goat cheese, grass-fed butter, homemade mayonnaise, real guacamole, or nut butter and jam of choice. 
         Avocado slices and fried eggs would be a yummy option as well. 

Feel free to create the sandwich of your dreams!

Thursday, March 1, 2012

Grain-free Almond Banana Waffles.


I have a new version of grain-free waffles to share!!  Those of you who have read my site for a while will remember my first grain-free waffles.  They taste really great, but these new waffles taste even better in my opinion.  (How is that possible?!)  One of the reasons I like this recipe so much is because they taste great plain, which is atypical of many grain-free versions!!  I also like how this grain-free waffle does not rely on coconut flour or eggs.  I love my other grain-free waffles, but they more dense compared to regular waffles and coconut flour is very filling.  They are, however, GAPS friendly.  Overall, this recipe has a bit more natural sweetness (from the banana) and isn't so dense.  The texture is FAB!  This recipe is also good for those who either don't care for coconut flour or just want a real food waffle recipe that doesn't use so many eggs!

I created this recipe on a whim one morning as I was whipping up some of my original grain-free waffles.  I wanted a recipe that did not use coconut flour.  And I wanted it to be easy!  So these waffles were born :) And I can tell you that they're here to stay

Grain-free Almond Banana Waffles.
    makes about 2 large Belgian waffles

    3 real eggs
    1 cup  blanched almond flour - source
    1/2 cup  organic shredded coconut - source
    2 Tbsp  almond butter - source
    4 Tbsp  butter, softened or melted - source
    1 ripe banana, mashed
    1 tsp  cinnamon - source
    1 tsp  vanilla - source

To make your waffles:
  1.  Turn on your waffle maker to medium heat. Spray it with olive oil - you don't want it to stick!
  2.  In a small bowl, crack eggs and beat with a whisk by hand until glossy yellow.
  3.  In a medium bowl, mix dry ingredients together. Make sure your coconut is finely shredded, and not in the form of flakes or chips.
  4.  Mix eggs and melted butter (but make sure butter is not boiling hot!) together, and whisk this into the bowl with the dry mixture.  **Add water to thin to right consistency, not too runny and not too thick (this step is optional, do if needed).
  4.  Pour batter into your waffle maker. Mine took over a whole cup of batter to fill and make one waffle. Depending on your waffle maker, your waffle yeild may vary, requiring less or more batter, or requiring more or less heat.
  5.  When done (mine beeps!), gently remove to a hot sheet pan in a 200 degree oven to keep warm as the other waffles are made.  Try using two forks or a fork and spatula for this step!
  6.  Enjoy your waffles!  Top them with BUTTER, yogurt, real maple syrup, peanut butter or fresh fruit.  And they're so good you can even eat them plain!!


I must admit, one of the best parts about these waffles is how great they are later, whether they're cold and left out for a few hours after making, or after they are frozen (for weeks) and then are thawed out.  And PS, they make great waffle sandwiches.  More on that in the next post!!

Happy waffling ;)
And Happy March!